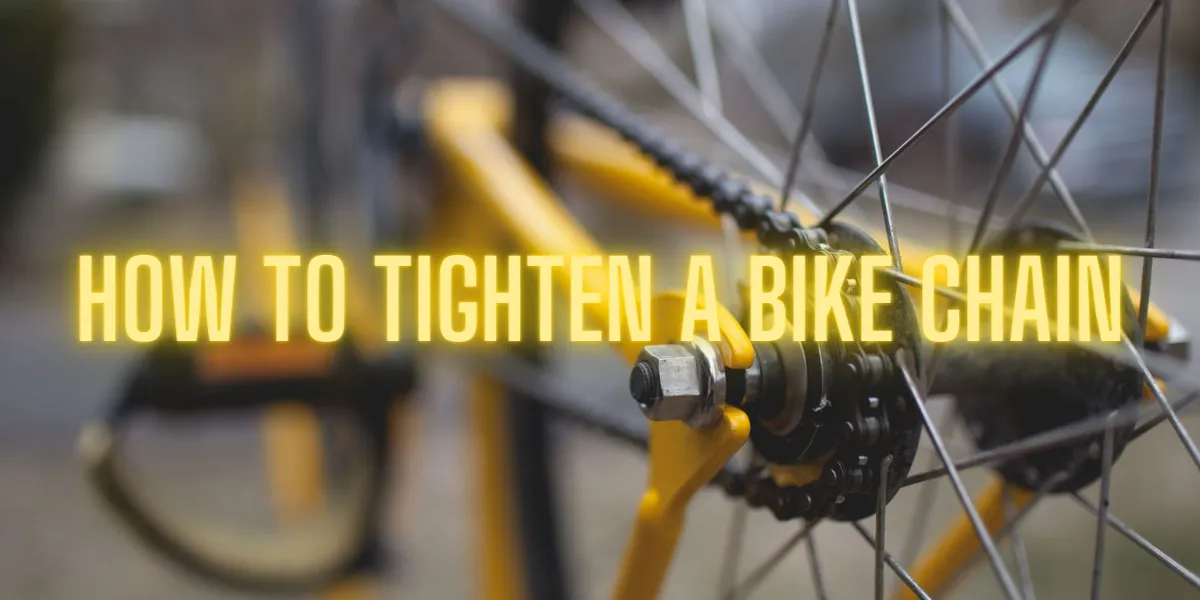
Got a loose bicycle chain? That’s unfortunate. Not to worry, slack chains are a pretty common issue on bikes; new and old alike. Knowing how to tighten a bike chain is an important skill for any biker. Fortunately, this skill is easy to learn and can save you time, money and even injury.
This article will cover the tools you’ll need to tighten a chain on a bike, simple step by step instructions on how to tighten a chain on any bike (single-speed or multi gear), and answer common bike chain tension questions you may have. Anyhoo, let’s begin!
Tools you’ll need
Before you begin tightening your bike chain, you should have the following tools within reach.
- Socket Wrench & Adaptor (if you have it, not necessary)
- Allen tool or key
- Bike Stand or flat surface to lay your bike upside down
- Bike chain lube
- Rag or Cloth
- Hand gloves, if you don’t want to get your hands dirty
Want an all-in-one solution? get a Bike Repair Kit.
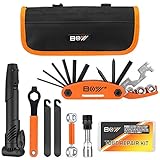
- Limited product inventory, bike tool kit, bike repair kit, bike kit, bike tire repair kit, bicycle…
- Complete Basic Mountian Compact Professional Accessory, Trike Biking, Cycling Trek Road Survival…
- Bike Repair Kit With Pump And Bag, Bicycle Tube Repair Patch Tool Kit, All Accessory Better Than…
- You Can Use A Nylon Velcro To Cling Tightly To The Bicycle Stand And Ride With You Wherever You…
How to tighten bike chain on single speed bike
- Place bike upside down
To have easy access to the bike parts (rear axle, chain, rear tire), flip your bike upside down and place it on a bike stand or a flat surface with the saddle (seat) on the ground and wheels in the air.
Use a mat or a bunch of old newspapers (if you still have those) to cushion the saddle to prevent any damage.
Pro tip: Before taking apart any bicycle parts, use your phone to snap some photos of the bike parts before disassembly. This will help you later on to remember exactly which parts go where.
- Loosen your rear tire
You’ll need to loosen your rear axle to adjust your bike chain. So, use the socket wrench and twist nuts counterclockwise until the bolts are loose.
Remember: Lefty, loosey, righty, tighty
- Pull back rear tire
Gently pull the rear tire backwards and the bike chain should begin to tighten. Continue pulling slowly until the chain tension is optimal. When it’s properly set, the bike chain should only be able to move about ½ to 1 inch (1.2 to 2.5cm) in either direction (up or down).
Pro tip: Ensure that the bicycle wheel remains centred in between the bike’s wishbone to make reassembly easy.
- Tighten rear tire
Now your chain is tight again, it’s time to tighten the rear axle. Use your wrench to screw the nuts tightly in a clockwise manner this time.
Remember: Lefty, loosey, righty, tighty
If secured properly, the tire shouldn’t touch either your chain or your bike frame.
- Test motion: tire, chain & pedals
The moment of truth is here. Say a little prayer (you don’t have to). Then, spin the tires to see if everything is moving correctly. Rotate forwards and backwards. Don’t forget to make sure the pedals and chain are spinning smoothly. If this is the case, Congrats! You’ve successfully tightened your bike chain.
How to tighten a chain on single speed bike: VIDEO
If you had any trouble following the written instructions, this video sums up the process expertly. P.S it’s funny too, lol.
Related post: How much does a new bike chain cost?
How to tighten a bike chain with a derailleur
Bikes with derailleurs are much more complex than single speed bicycles. As such, there are several things that might be responsible for a slack bike chain on a geared bike. When tightening a chain on a bike with a derailleur, it’s important to try the easiest solutions. If the first solution doesn’t work, then move on to the next.
Let’s get into it!
- Turn bike upside down
Place the bike upside down on a bike stand or a flat surface to have easy access to the bike parts. Your saddle (seat) should face the ground and wheels suspended in the air.
Pro tip: Before taking apart any bike parts, take some photos with your phone of the bicycle assembly before you begin dismantling. This will help you to remember exactly which parts go where later on.
- Find rear derailleur screw
Tightening chains on a bike with a derailleur is a little different. You need to find your rear derailleur screw. On most (not all) geared bicycles, you will find a screw next to the letter “B”. This is the B tension screw.
The B tension screw is responsible for some of the chain tension in a geared bike. It varies the distance between the top pulley of your derailleur and the freewheel or cassette.
Turn the screw clockwise to increase the bike chain tension. If your chain is now tight, you should skip the next steps and go directly to testing.
- Measure chain
If your chain is still slack after tightening the derailleur screw, we have to check the state of the bike chain. Use a ruler or a chain checker to confirm whether the chain slackness is from the chain itself. Check out this video to see exactly how to measure this with a ruler.
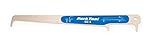
- Chain Wear Indicator
- The tool works on any 5 to 12-speed derailleur chain (including SRAM AXS) and is designed to accurately indicate when a chain reaches .5% and .75% wear
- Takes the guesswork out of determining when a chain is worn out
- Accurately measures wear on all 1/2″ pitch bicycle chains
- Compatible with all 5-to-12 speed chains
If your chain turns out to be the culprit, you will need to replace the chain and maybe the sprocket too. Usually, bike chains and sprockets wear together over time and it isn’t advisable to put a new chain on an already worn out sprocket.
- Disconnect brakes
When your chain isn’t the problem, you’ll need to access the rear wheel to adjust chain tension. Disconnect the brakes from the brake cable and lift the quick release or brake lever to access the rear tire.
- Pull rear axle back
Move the rear axle gently back towards the bike’s rear dropouts to tighten the chain.
Pro tip: Make slight adjustments. After each one, lower the release lever and check if the bike chain tension is good. Repeat this until you’re satisfied.
- Reset bike
Put the bike back together. If you forget anything, use the videos or photos you took with your phone to remember. Connect brakes to the cable and check that the brake (or release) lever is in a down secure position. Make sure the tires aren’t touching the bike frame or chain.
- Test
Rotate the tires and pedals and observe the movement of the chains. If everything is moving like they used to, congratulations! You’re a pro! You’ve tightened the chain on your bike. If not, apologies! Retrace your steps and adjust accordingly and retest.
Related post: What does a bike tune up include?
How to tighten a bike chain with derailleur: VIDEO
Having trouble following the steps, this video might help:
If this is all too much of a hassle for you, I advise you to look up a local bike shop and they’ll be more than happy to tighten your bike chain. They’ll check the chain tension. Also, they’ll fix and oil the chain and replace any parts that need replacing.
Conclusion
Now, you can get back on the saddle and enjoy the freedom of biking. Always remember to take good care of your bike chain. Clean and lube it once a month and you shouldn’t have to retighten it often.
Also, try to periodically check the tightness of your chain so it doesn’t fall off or cause an emergency deep on a trail. It also doesn’t hurt to take your bike to a local bike shop for a checkup now and again.
Thanks for reading! Cheers and ride on! Got a rusty chain? Learn how to clean a rusty bike chain.
Bike chain tension FAQs
Why do bike chains get loose?
There are 3 main reasons why bike chains get loose.
- Worn/stretched chain
Wear and tear. This is the simple answer. Over time, depending on the bike, bike usage and biking intensity, the links in the chain will wear. As the chain and even the sprocket wear, your bike chain will get longer and thus, looser.
- Weak rear derailleur spring
A weak derailleur spring increases the distance between the derailleur’s top pulley and the freewheel or cassette. Consequently, this increased distance makes the bike chain loose.
- Rear axle position in rear dropout
The position of the rear axle in your bike’s dropouts are the last suspects. Most bikes have an allowance in the rear dropouts to position your rear axle. If the rear axle is too far forward, your chain will be loose.
What are the common loose bike chain symptoms?
Here are some easy to spot indicators of a loose bike chain:
- Bike chain dropping
- Bicycle chain skipping
- Bike chain slapping onto frame
- Poor shifting
- Accelerated drivetrain wear
How tight should a bike chain be?
The general rule of thumb for bike chain tension is that the chain should be able to move ½ an inch in either direction. In my experience, even an inch is fine. Anything much more than that is loose and needs to be tightened.
When should I change my bike chain?
If you use a bike chain checker or ruler and find that your bike chain is longer or slacked, you will need to change it or remove a link and see if it fits your bike with one less link. Most times, you won’t be so lucky, So, when the bike chain is slacked, you will need to change it.
The time it takes for your bike chain to slack depends on your usage and the intensity of your usage so it varies. Bicycling.com recommends replacing your bike chain every 2,000 miles. Not sure how precise you track your biking but I think the bike checker method is easier. Anyhoo, with any rule of thumb, it varies from person to person, and from bike to bike.
How to install a new bike chain?
If after all this, you decide to get a new bike chain and want to install it yourself, here’s a super helpful step-by-step video. P.S you’ll need to get a chain tool and a pair of pliers.
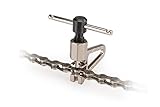
- Compatible with 1/8” single-speed and 5 to 12-speed derailleur chains*
- Shelf for loosening tight links
- Replaceable pin (part # CTP)
- Perfect take-along chain tool at only 77 grams
- Dimensions: 60mm x 55mm x 15mm
Does lubrication affect chain tension?
The short answer is YES. Lubrication improves the performance and life of your bike chain. On the flip side, lack of lubrication can cause bike chain rust and wear to occur more easily.
How often should I lube my bike chain?
Generally speaking, it’s recommended you clean and lube your bike chain at least once a month for protection and to maintain its performance.
Related post: How much does a bike tune up cost?
Is it better to tighten or replace a bike chain?
It depends. If you can simply tighten your bike chain by following the steps above, don’t replace your bike chain. On other hand, if your chain is old and slacked, then you have to switch it out.
How does a bike chain work?
A bicycle chain propels your bike forward by transferring power from the pedals to the drive-wheel of the bike.
To learn more, check out this clip:
